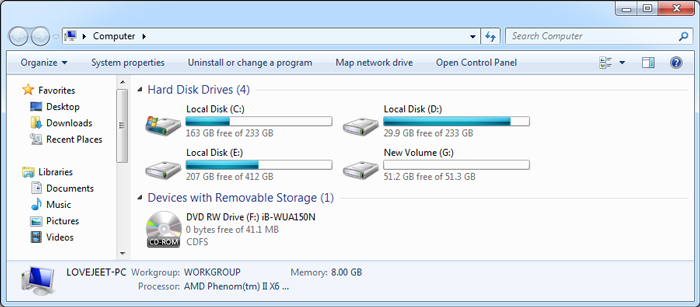
When it comes to creating or formatting Partitions in windows , most people are not aware of the disk management tool in windows and they prefer to use a windows installation disk to create, delete or merge Partition on a windows PC .
Well in case if you are planning on formatting the windows Partition itself , then you would definitely need an windows installation disk . Otherwise For all of your other needs to create , merge or delete Partitions in windows you can always make use of the inbuilt disk manager on your windows computers .
The Disk manager in windows is a very useful tool that can assist you with all your disk management needs . Some of the possible uses of the Disk manager in windows are :
- 1# For partitioning Partition on a new hard disk
- 2# For creating or merging existing Partition on a windows computer
- 3# For extending an existing Partition’s space
- 4# For shrinking an existing Partition storage space
There were the four main reasons of how you could make use of the Disk management tool in windows .
While there are many other third party tools available in the market , but the disk management tool in windows is a much easier option for new windows users . Depending on your requirement you might be searching for either to delete a Partition or to create one . You can skip to the required part from the instructions below .
Note: Deleting or merging Partition will erase all your stored data from the respective Partitions . Please take a backup of all your important data before proceeding further .
How to Delete Partitions with the Windows Disk Management Tool
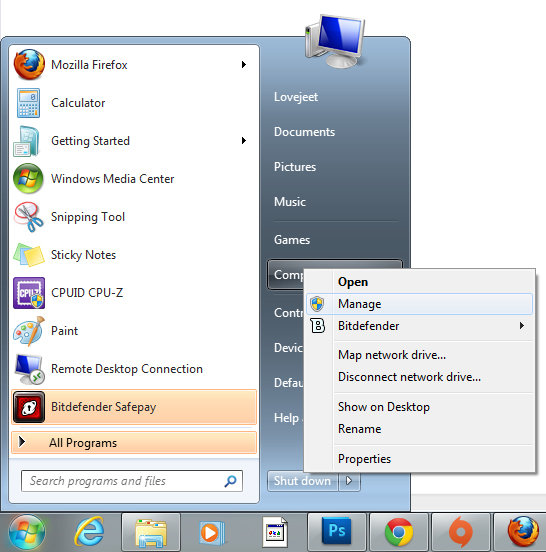
You can open the disk management tool by clicking on the windows start icon and then right clicking on Computer and selecting manage .
- Step 1: From the windows start menu , right click on Computer and select manage .
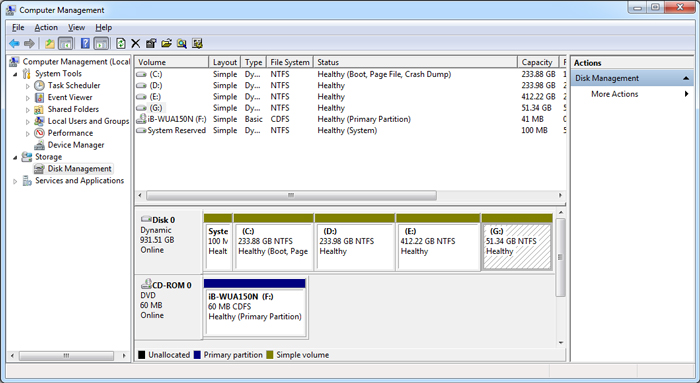
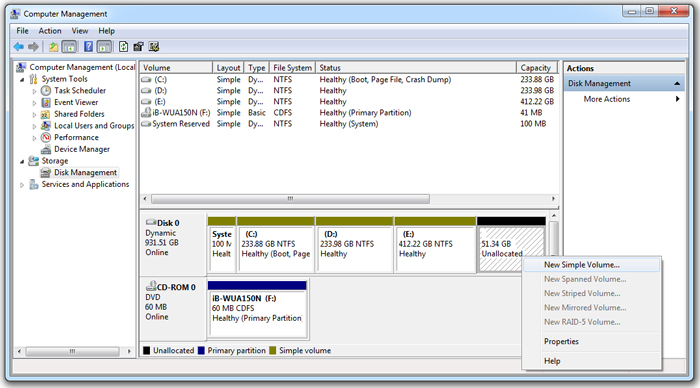
- Step 2: From the computer management windows that opens up , select the disk management option under storage .
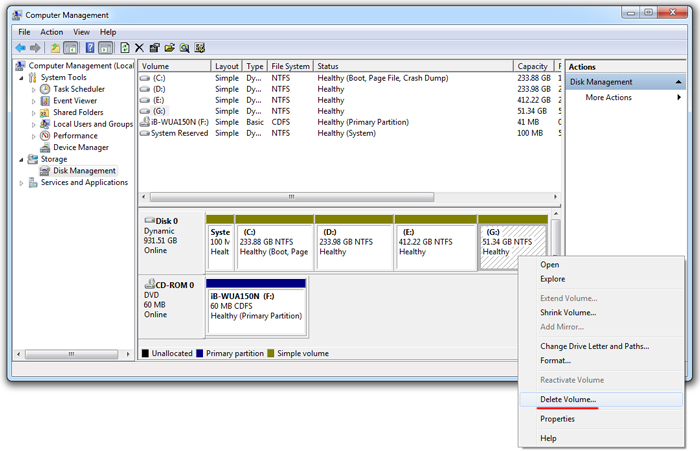
- Step 3: Now you will see the following menu as the screenshot below . To delete any of the Partitions , right click on any Partition and select “ Delete volume “ . Click OK on the warning that will be displayed and the Partition will be deleted .
How to Create Partitions with the Windows Disk Management Tool
- Step 4: To create a Partition , right click on any Partition which is labelled as unallocated and select “ New Simple Volume “ Note: The process to create Partition will be same for both new and existing hard disks . in case of a new hard drive , you will have to start from a single unallocated volume .
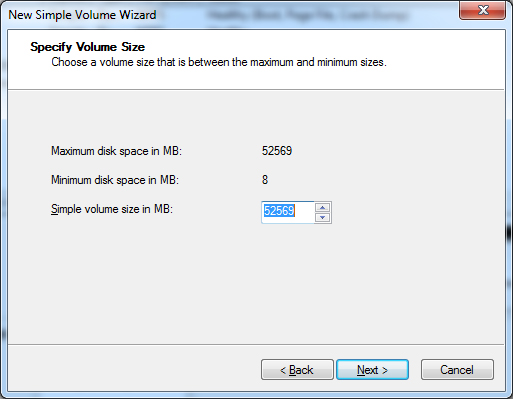
- Step 5: In the windows that opens up click on next and then specify a size for the new Partition and click on “ Next “ . If you are creating partitions for a new hard disk , then divide the total space for each Partition beforehand .
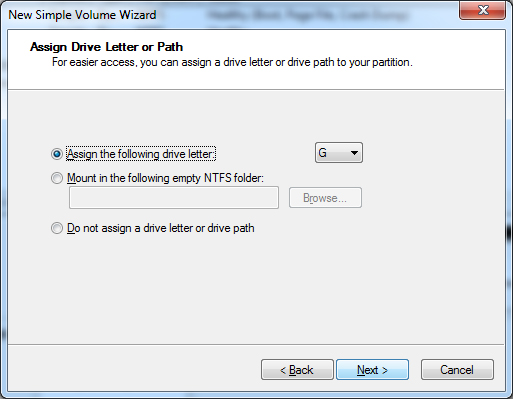
- Step 6: In the next window select and assign a letter for the new Partition being created and click on “ Next “ .
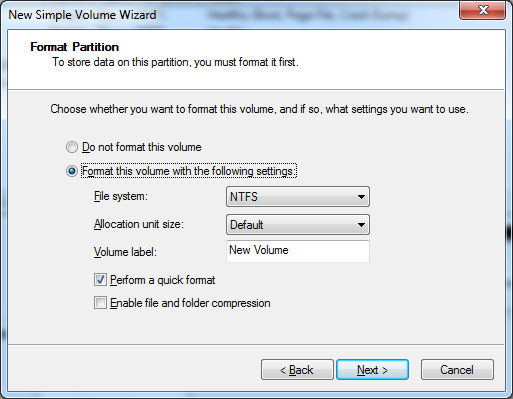
- Step 7: In the next window select “ Format this volume with the following settings “ and select the settings as shown in the screenshot below .
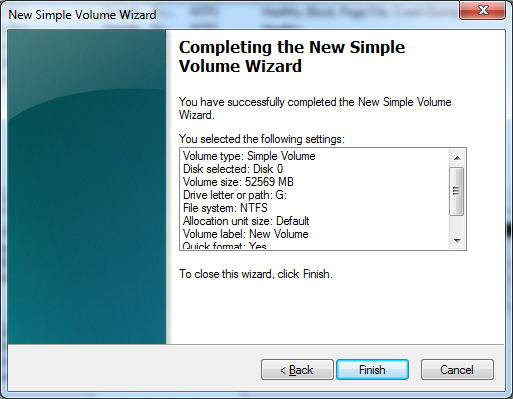
- Step 8: In the final window , verify the settings shown and then click on “ Finish “ to create your new Partition .
Thats it and now you will be able to use the new drive you just created .