Installing fonts on windows is a one-click process. But here is a guide for the opposite way around. The instructions below will help you to remove or delete fonts from your windows PC.
For some of us, who might be thinking why would anyone ever need to remove fonts from windows . I have one reason why. For instance, this very day, i installed a new font on my windows PC, which i needed for designing something. But somehow Google chrome started using the font on some sites.This new font being a ultra thin fancy font, it became impossible for me to read from Google chrome. I tried changing the font settings in Google chrome, but to my surprise Google chrome was still using the default fonts. So in the end i zeroed up at the problem being some kind of bug. So the only way for me to get rid of this bug was to uninstall the font.
If you are facing the same problem or anything similar involving bugs with certain fonts, you can follow the instructions below to remove the font from your windows PC.
Instructions to Delete Fonts in Windows
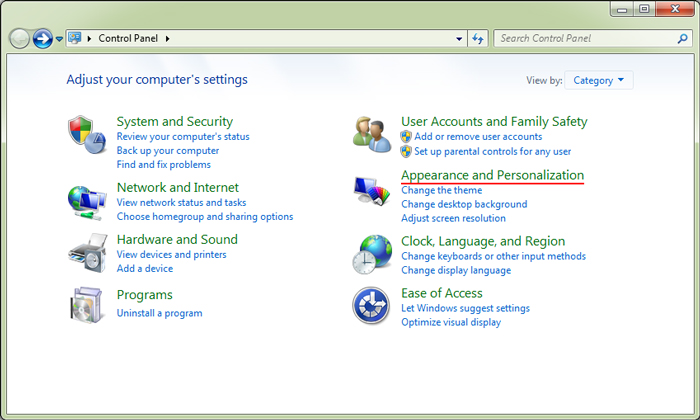
- Step 1: Go to Control panel on your windows PC and the select Appearance and Personalization.
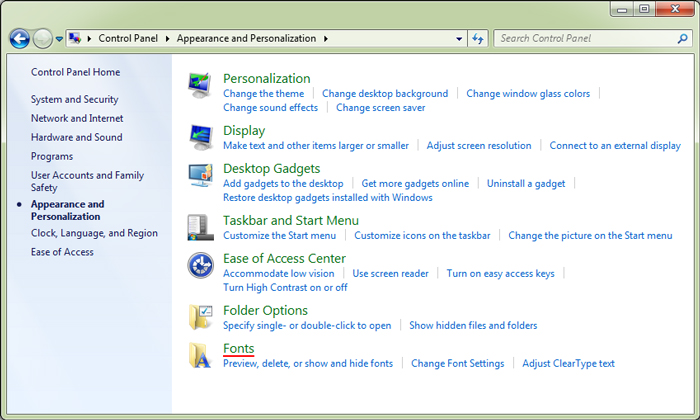
- Step 2: Form the Appearance and personalization menu select fonts.
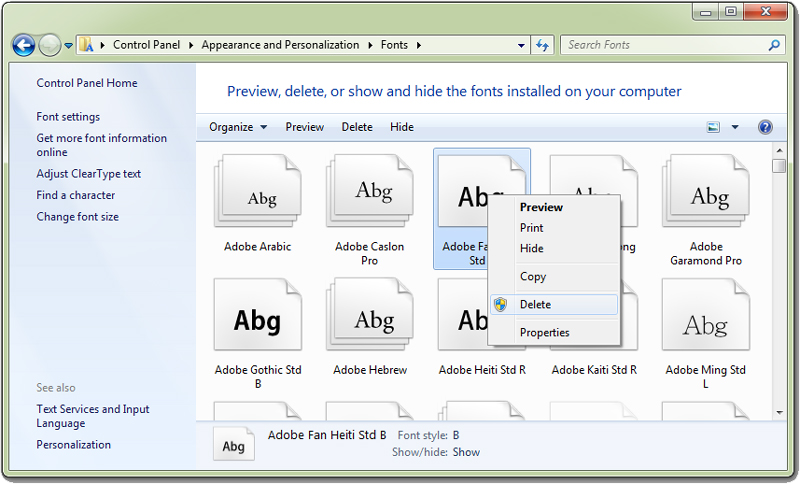
- Step 3: Now you will be able to view all the fonts which are currently installed on your windows PC.
- Step 4: Finally select a font and then right click on it and click on delete to remove the font from your windows PC.